
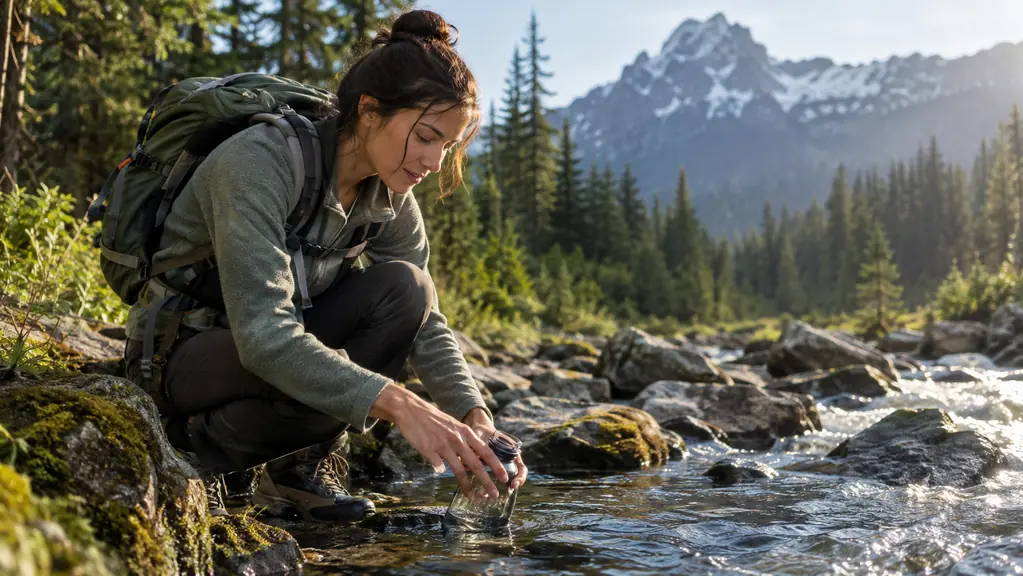
The first time I ran out of water on a trail, I was young enough to think it was an adventure. Twenty-five years later, as a search-and-rescue volunteer, I pulled a dehydrated hiker off a ridge who had made the same mistake. He had carried one bottle for a nine-mile loop in July. The difference between those two stories is that I got lucky and he almost didn't. Planning water before you leave the trailhead is not a skill you can fake in the moment. It is a short list of decisions you make at home, and a LifeStraw Personal Water Filter makes most of them easier.
This guide is the system I actually use on trips in the Cascades and the high desert outside Bend, Oregon. It is not a lecture about wilderness survival. It is five steps, in order, that cover how much water to carry, where to find more, how to filter it, and what to do when the plan falls apart. I have tested it with the LifeStraw on spring snowmelt creeks, still beaver ponds, and one questionable cattle trough. It works, and I will tell you where it does not.
Start your trip with a filter that fits in your pocket
The LifeStraw Personal Water Filter removes 99.999999% of waterborne bacteria and 99.999% of protozoan cysts, and it weighs almost nothing. I keep one in my day pack and one in my vehicle kit. Check today's price on Amazon before you plan your next route.
Amazon Check Today's Price on Amazon →Step 1: Figure out how much water you actually need
The rule I give new hikers is one liter for every two hours of moderate hiking in mild weather, and double that in summer heat or at elevation. That sounds simple, but most people underestimate the second half of the day. The first two hours feel fine. The last two hours are where the math catches up with you. I plan for the whole day, not the first leg.
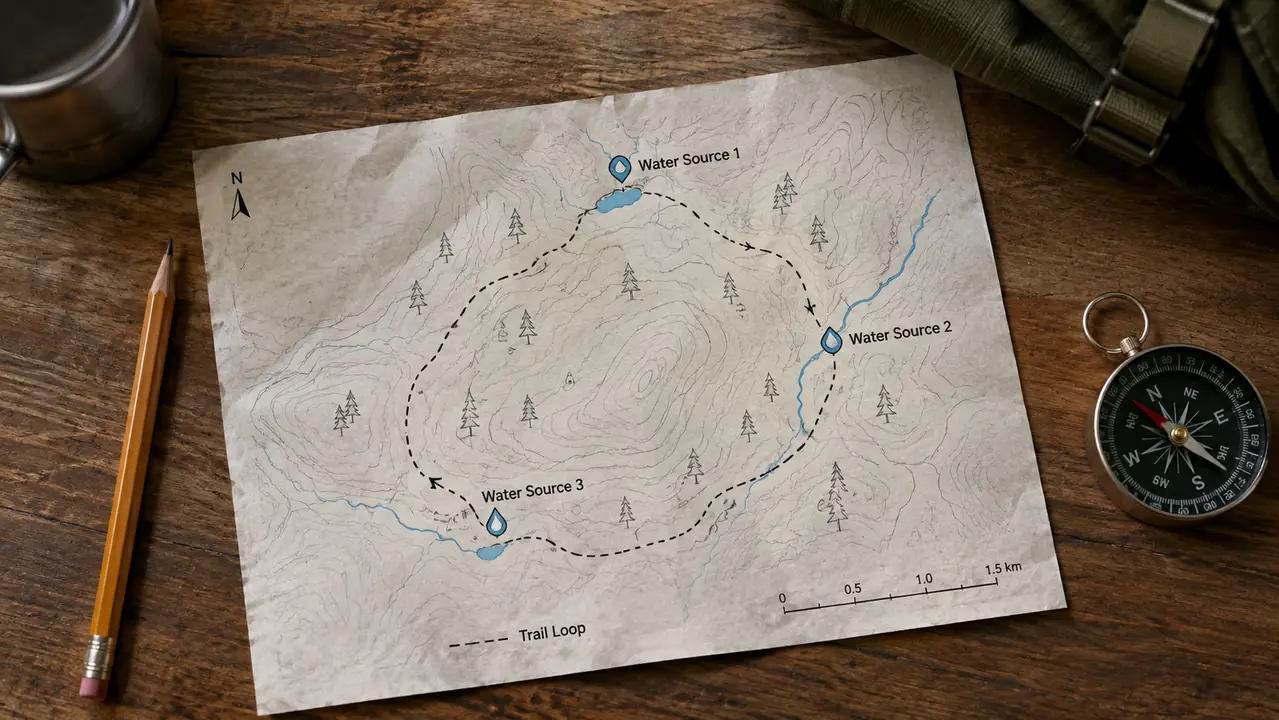
For a full day out, I start with two liters on my back. That is a compromise between weight and safety, and I have weighed it literally. A liter of water weighs 2.2 pounds, so two liters is 4.4 pounds before I add a filter, food, and a rain shell. On a July trip up the Green Lakes Trail last summer, my pack came in at 23 pounds at the trailhead, and I noticed every one of those pounds by mile four. I used to carry three liters to be safe, but I got tired of the extra weight and started planning refills instead. That is how the two-liter rule was born. Then I identify at least two places on the route where I can refill. If the route has no reliable water, I carry three liters and accept the weight. If I am bringing my LifeStraw, I know I can refill from almost any source, which changes the calculation completely. The filter does not replace carrying water. It replaces the fear of running out.
Write the plan down. I use a small notebook or the notes app on my phone, and I mark the mileage where each water source should appear. On a September hike on the Deschutes River Trail, I marked a spring at mile 3.2 and a creek at mile 6.8. The spring was dry when I got there, and the creek was exactly where I wrote it. That is the whole point of writing it down: the plan does not have to be perfect, it just has to be better than your memory at mile six. When you are tired at mile six, you do not want to be doing mental math about whether the creek is at mile seven or mile eight. You want to look at a number you wrote when you were fresh.
Step 2: Scout your water sources before you need them
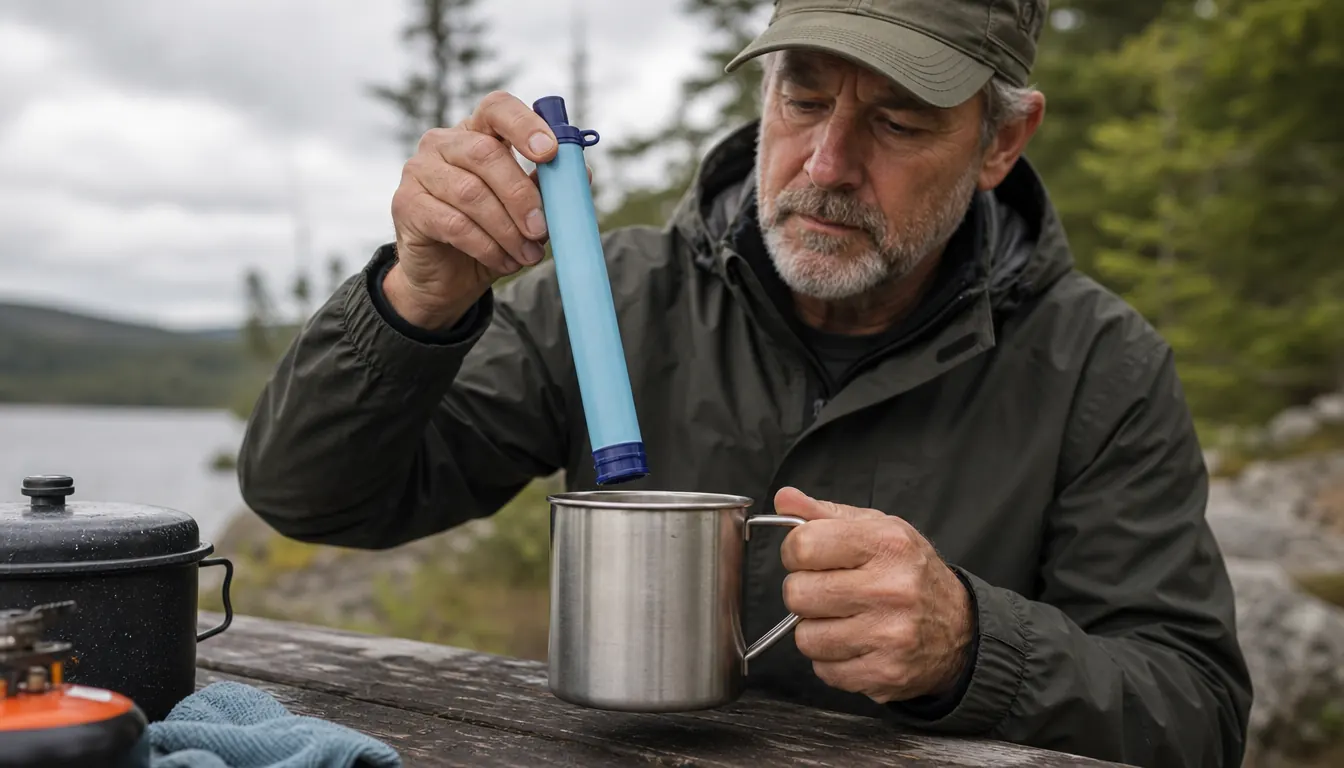
The best time to find water is when you do not need it yet. I stop at the first reliable source on the route, even if my bottle is half full, and I top off. That habit has saved me more times than any piece of gear. A filter does not create water. It only makes the water you find safe to drink, so finding water early is the real skill.
When I scout a source, I look for three things. Moving water beats still water. A narrow, fast section of creek is better than a wide, slow pool. Clear water beats cloudy water, though the LifeStraw handles both. And I avoid water downstream of campsites, grazing land, or anything that looks like runoff. The filter removes a lot, but it is not a reason to drink the worst water on the mountain.
On one trip in the high desert in late August two years ago, the only water on the route was a beaver pond that smelled like a barn. I walked the whole shore looking for an inlet or a seep, something moving, and found nothing. I filled my bottle anyway, walked a hundred yards downstream where the pond narrowed into a channel, and filtered it with the LifeStraw. It tasted like pond, but it did not make me sick. That is the honest standard for trail water: not delicious, just safe. If you want delicious, carry your own from home. That trip also taught me to plan for the pace of a straw filter. The LifeStraw delivers a mouthful at a time, not a gushing stream, so I sat on a log for a good ten minutes and drank my fill before I moved on. I will also tell you what I did not do: I did not skip the water and push the last four miles dry. I have made that mistake before, on a different route, and the headache and the slow, wobbly final mile were not worth it.
Step 3: Filter at the source, not at camp
The LifeStraw is a straw-style filter, which means you drink directly from the source or from a container. My habit is to filter at the source. I fill my bottle, screw on the LifeStraw, and drink until my bottle is low enough to carry comfortably. That way I am never carrying water I cannot drink, and I am never filtering in the dark at camp. I tried the other order once, filling a bottle and carrying it back to camp to filter at the picnic table. It meant carrying a liter of untreated water for two miles, and then filtering it in the dark by headlamp. The water was fine. The process was stupid. Filter at the source and save yourself the trouble.
The filter removes 99.999999% of waterborne bacteria including E. coli and salmonella, and 99.999% of protozoan cysts like Giardia. Those are the numbers LifeStraw publishes, and they match my experience over years of use. I have drunk from snowmelt creeks, alpine lakes, and that beaver pond, and I have never had a sick day from it. The closest call I have had was on a March trip when I filtered from a creek running fast with snowmelt, then realized I had filled downstream of a trail bridge where hikers had been standing. Nothing happened, and I now look upstream before I fill, every time, without exception. That is the proof that matters to me: not a lab sheet, but years of drinking from whatever the mountain offers and staying healthy. The lab sheet is nice. The track record is better.
One thing I will tell you plainly: the LifeStraw does not remove viruses, and it does not remove chemical contaminants. In the lower 48 backcountry, viruses are rarely a concern, and I do not filter from mine runoff or industrial areas. If you are traveling internationally or into a place with known contamination, you need a different tool. The LifeStraw is for the trail, not for every water problem on earth.
Step 4: Carry a backup and know its limits
A filter is a mechanical device, and mechanical devices fail. I carry a backup purification method on every trip, even short ones. On day hikes, that is a small bottle of chlorine dioxide tablets that weigh nothing. On overnight trips, I add a lightweight backup filter. The LifeStraw is reliable, but I have seen a friend drop his in a creek and spend ten minutes fishing it out. I have also had a filter clog on me once, on a silt-heavy stream, and the flow slowed to a trickle. I rinsed the intake screen, gave up on that source, and walked upstream to where the water ran clear. Gear gets lost, dropped, clogged, and frozen. Plan for that.
The LifeStraw has a 1,000-gallon capacity, which is more than most people will use in years of hiking. It filters down to 0.2 microns, which is what catches the bacteria and protozoa. But it has limits. It does not work well in freezing temperatures because the hollow fibers can crack. I learned that the hard way on a November overnight in the Cascades. I left my filter in the outer pocket of my pack, the temperature dropped to 14 degrees overnight, and the next morning I did not trust it. I used my backup tablets for the rest of that trip and slept with the filter inside my sleeping bag from then on. I keep mine in an inside pocket in winter, and I never let it freeze overnight in the tent.
I also carry a wide-mouth bottle for filtering. The LifeStraw fits standard bottles, but a wide mouth makes it easier to fill from a shallow creek without scooping mud. That is the kind of detail you only learn by doing it wrong once. My first trip with a narrow-mouth bottle ended with me kneeling in the creek, trying to fill it sideways. A wide mouth is not a luxury. It is the difference between a clean fill and a wet sleeve.
Step 5: Know what to do when the plan falls apart
Every plan needs a failure mode. Mine is simple: if I cannot find the water source I marked on my map, I stop and reassess before I get desperate. Dehydration makes bad decisions, and bad decisions on the trail are how people end up in the back of my old truck. I turn around if I have to. A shorter day is better than a rescue.
If the water I find looks worse than anything I planned for, I filter it anyway and then treat it with a tablet as a second pass. That is rare, but it is good to know the option exists. The LifeStraw gets the big stuff, and the tablet catches anything the filter cannot. Two layers of protection beat one when the stakes are high.
And I always tell someone where I am going and when I expect to be back. That is not paranoia. It is the single most useful habit I learned in search and rescue. A filter keeps you hydrated. A plan keeps you found. You want both.
What Else Helps
A few small additions make the whole system work better. A collapsible one-liter bottle gives you extra capacity without the weight when the source is far from camp. A bandana or a coffee filter strains out leaves and grit before the LifeStraw does the fine work, which keeps the filter cleaner longer. And a carabiner on the straw's cap means you can hang it from your pack strap instead of digging for it at every stop. None of these are required. They just remove friction, and on a long day, friction is what wears you down.
I have drunk from snowmelt creeks, alpine lakes, and that beaver pond, and I have never had a sick day from it.
Pack the LifeStraw before your next trip
Two LifeStraw Personal Water Filters cost less than most people spend on bottled water in a month, and they last for years. I keep one in my day pack and one in my vehicle kit, and I have never regretted it. Check today's price on Amazon and add it to your pack list.
Amazon Check Today's Price on Amazon →