
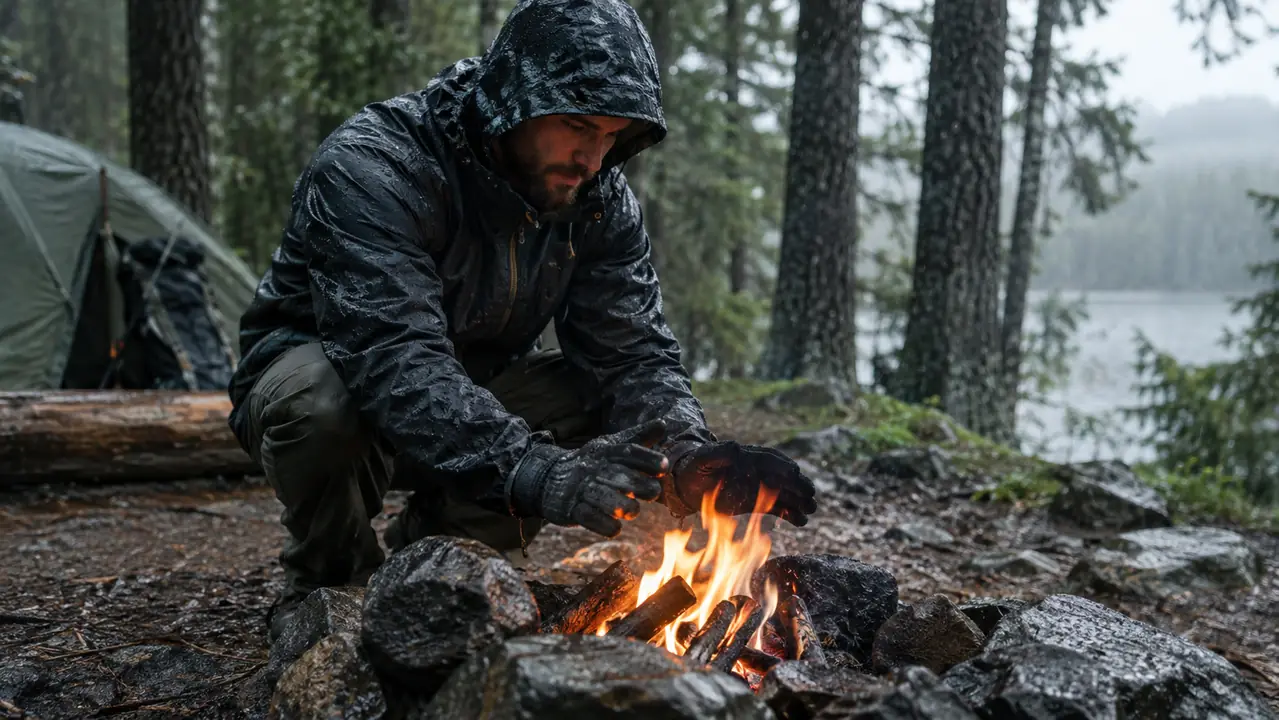
The rain had been falling for six hours when I stepped out of the 4Runner at the trailhead. Everything I touched was wet. The logs by the fire ring were dark and slick, the duff underneath them was soaked, and the wind was doing that steady Oregon drizzle thing where you never quite dry out. I had a bayite ferro rod in my coat pocket, the 4 inch drilled model, and I knew from experience that the tool was not the hard part. The hard part was everything that happened before I ever struck a spark.
Most people plan for a fire by buying a fire starter and hoping. That is backwards. The tool is only one link in a chain that starts with dry tinder, includes a protected work area, and ends with a fire that is already too established to be killed by the next gust. This is the routine I have used for years as a search and rescue volunteer and in my own campsites across the Cascades and the high desert. It works in drizzle, in sleet, and in the kind of cold rain that makes you want to stay in the truck.
Start With a Fire Starter That Actually Throws Sparks in the Rain
The bayite 4 inch ferro rod and striker kit is the one I keep in my vehicle kit and my pack. It throws a hot shower of sparks, the drilled end lets me lanyard it so I do not lose it in the dark, and it has handled years of wet-weather use without rusting out. Check today's price on Amazon before you head out.
Amazon Check Today's Price on Amazon →Step 1: Gather Your Dry Materials Before You Need Them
The single biggest mistake I see in wet weather is people trying to find tinder after they are already cold and wet. By then, everything within reach is damp, your hands are shaking, and the light is going. On a wet November morning in the Deschutes National Forest, I watched a man try to start a fire with a soaked newspaper and a disposable lighter. He stood over the ring for twenty minutes, flicking and muttering, while the rain ran down his collar. He had a ferro rod in his pack the whole time. He just had not planned far enough ahead to have dry tinder within reach, and by the time he gave up, his hands were too cold to work a striker properly. That is the failure mode this step exists to prevent. The fix is to gather materials while you are still dry, or at least while you still have the patience to be picky.
I carry a small dry bag with a few handfuls of jute twine, cotton balls coated in petroleum jelly, and a folded piece of cardboard. That is my guaranteed ignition layer. On top of that I look for what I call the middle layer: pencil-sized dead twigs that snap cleanly rather than bending. In wet weather, the best source is the underside of a dead standing tree or the sheltered side of a rock overhang. Wood that is already on the ground has been soaking for days. Wood that is still standing has a chance.
Split wood is the third layer. A hatchet or a sturdy knife lets me split a wet log open to reveal the dry heartwood inside. A few splits of that, shaved into feather sticks, will burn even when the outside of the log is soaked. I gather about three times what I think I need, because wet weather burns fuel faster and I do not want to be foraging for more wood while my fire is struggling.
Step 2: Build a Dry Work Area
A fire needs a dry place to start, and in wet weather that place does not exist naturally. You have to make it. I look for a spot with some overhead cover, even if it is just a thick pine canopy, and I clear the ground down to mineral soil or bare rock. If the ground is too wet for that, I lay down a piece of bark, a flat rock, or the lid of my cook kit as a dry platform.
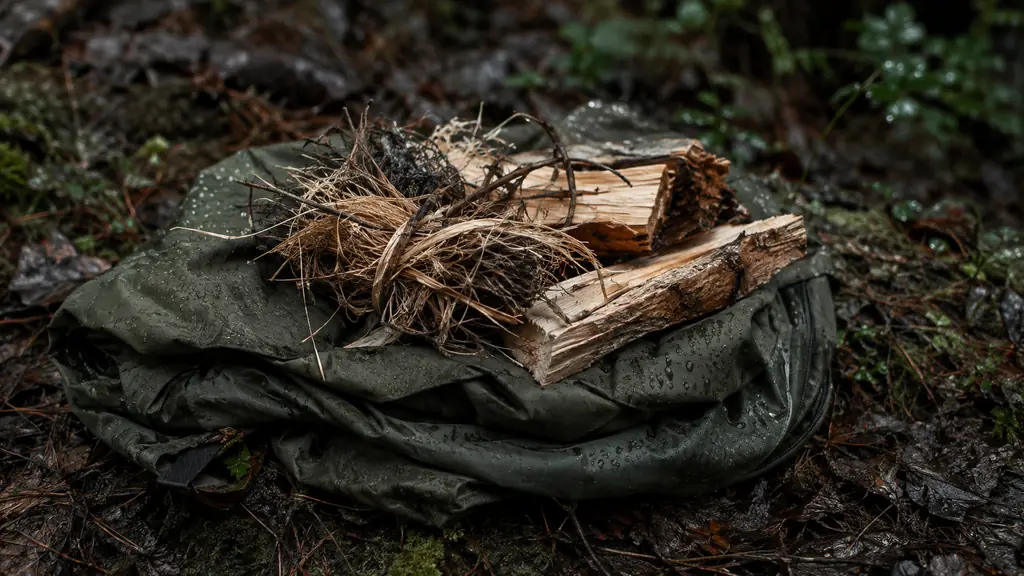
My favorite trick is to use my rain jacket as a portable dry workbench. I fold it so the dry inside faces up, build my tinder nest on it, and keep my ferro rod and striker within easy reach. When the fire catches, I slide the jacket out from under it. This keeps the tinder off the wet ground and gives me a clean, dry surface to work on even in a downpour. On one late October trip above Bend, the ground was so saturated that every spot I tried squelched under my knees. I ended up building the fire on the lid of my cook kit, a flat aluminum lid about the size of a dinner plate, and it worked well enough that I now carry a folding ground cloth in my pack for exactly this job. It weighs almost nothing, it gives me a dry surface no matter what the soil looks like, and it folds down to the size of a paperback.
Position yourself so your body blocks the wind. I kneel with my back to the breeze and cup my hands around the tinder nest. This does two things: it keeps the sparks from being blown away, and it lets me feel the heat of the ember as soon as it catches. In wet weather, that feedback matters more than you would think.
Step 3: Prepare Your Tinder Nest and Shavings
The ferro rod does not light a log. It lights a tinder nest, and that nest has to be ready to catch the very first spark. I make a loose ball about the size of my fist, with lots of air space and fine material on the outside. If I am using jute twine, I fluff it by pulling the strands apart. If I am using a cotton ball, I stretch it thin so it has more surface area. The first time I tried this in a real downpour, I made the nest too tight and the sparks bounced off the surface without catching. I reworked it with more air space and finer jute on the outside, and it caught on the second scrape. The difference was not the rod, it was the preparation. I have also learned to keep a spare tinder bundle in a small zip bag inside my coat, so if the first nest gets damp while I am building the fire, I can pull out a dry one without going back to the pack.
On top of the tinder I pile a small mound of feather sticks and shavings. The shavings should be fine enough to catch from the tinder, but not so fine that they burn out in two seconds. I aim for a progression: tinder catches, shavings catch, then pencil-sized twigs, then thumb-sized splits, then the main fuel. Each layer has to be dry and each layer has to be within arm's reach before I strike the first spark.
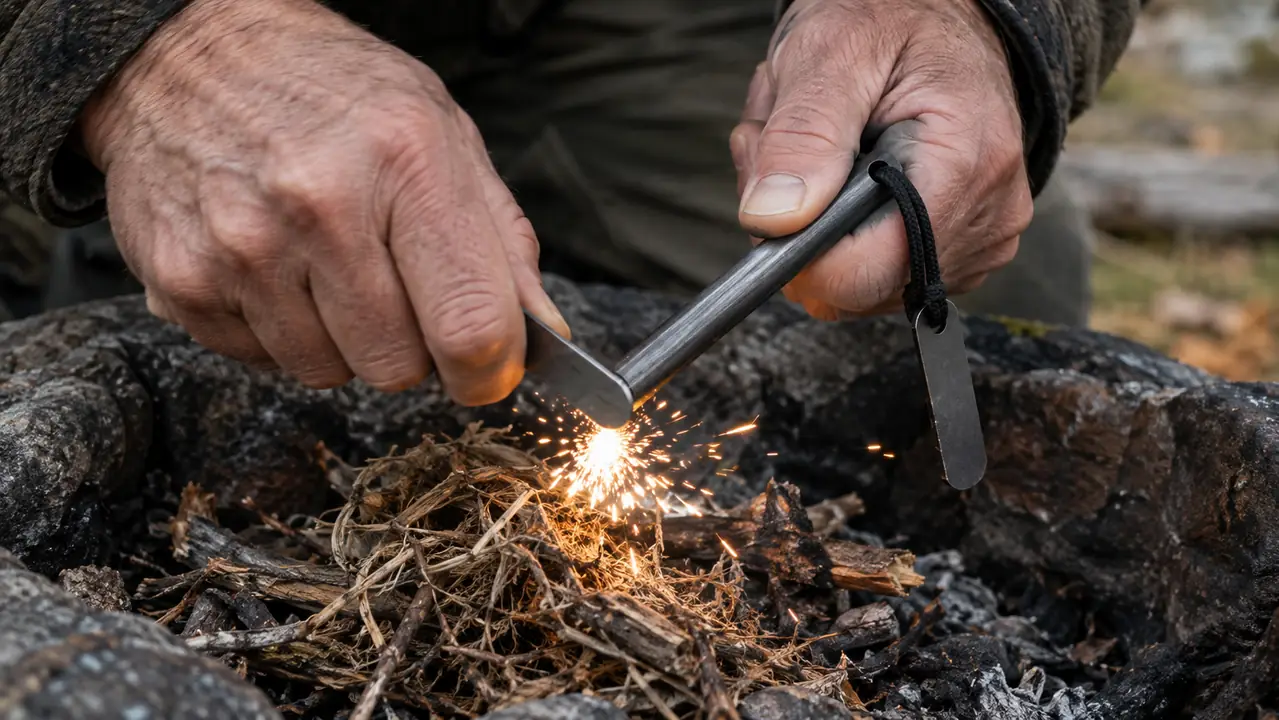
This is where the bayite ferro rod earns its place. The rod throws a dense shower of sparks, not a single weak ember, which means the tinder has multiple chances to catch. I hold the rod low, almost touching the tinder, and draw the striker back toward me with firm, even pressure. A fast, short scrape works better than a long, slow one. You want the sparks to land on the tinder, not on the ground.
Step 4: Strike, Shield, and Feed in the Right Order
When the tinder catches, the natural instinct is to add wood immediately. That is a mistake. A young flame is fragile, and a wet log dropped on top of it will smother it. I feed the fire in stages, starting with the finest material and adding slightly larger pieces only when the current layer is fully burning.
I also shield the flame with my body and hands until it is established. In wet weather, I keep a spare dry hand towel or bandana nearby to drape over the fire briefly if a gust hits. Once the flame is the size of my fist and burning steadily, I start adding the split heartwood. From there, the fire builds itself. One detail that took me a while to learn: keep your fuel staged by size before you strike the first spark. I sort my twigs into a fan on the dry ground cloth, finest closest to me, so I am never sorting through wet material while the flame is alive. On a January overnight near Todd Lake, that staging was the difference between a fire that caught in ninety seconds and one that died twice before I got it going. It sounds fussy, but in cold rain, fussy is faster. The flame does not wait while you hunt for the next piece.
One more thing: do not bury your ferro rod in a pocket where it can get wet and stay wet. I keep mine on a lanyard around my neck or clipped to the outside of my pack. The drilled hole in the bayite rod is there for exactly that reason. A fire starter only helps if you can reach it without digging through a soaked pack.
Step 5: Practice the Whole Sequence at Home First
The first time I used a ferro rod in real rain, I fumbled for ten minutes and burned my thumb on the striker. The problem was not the tool. It was that I had never practiced the sequence under pressure. Wet weather adds cold, darkness, and frustration to every step, and none of those are things you want to meet for the first time in the field.
So I practice in the backyard. I wet down the fire pit, let the wood sit out in the rain, and run the full routine: gather, build a dry work area, prepare the tinder nest, strike, shield, and feed. I time myself and try to get the fire going in under five minutes. When I can do it in the yard in the rain, I trust myself to do it in the Cascades in a storm.
I also practice with one hand, because there will be a night when one hand is holding a flashlight or a jacket. The bayite striker is easy to grip even with cold fingers, and the rod is long enough that I can hold it steady while I scrape. Those small details are the difference between a fire and a frustrating evening.
What Else Helps
A ferro rod is the ignition source, but it is not the whole system. A small dry bag for tinder, a hatchet or sturdy knife for splitting wet wood, and a lightweight tarp for overhead cover all make wet-weather fire building dramatically easier. I also carry a backup lighter in my vehicle kit, not because I do not trust the bayite rod, but because redundancy is cheap and a fire in wet weather is not a place to be short on options.
If you want to go deeper on the tool itself, my long-term review of the bayite ferro rod covers how it holds up after years of use, and the comparison with the Überleben Zünden breaks down the tradeoffs between a budget rod and a premium one. For a broader look at why a fire starter belongs in every kit, the ten reasons piece is a good starting point.
The tool is not the hard part. The hard part is everything that happens before you ever strike a spark.
Put a bayite Ferro Rod in Your Kit Before the Next Storm
The bayite 4 inch ferro rod and striker kit is inexpensive, reliable, and easy to practice with. It has been in my vehicle kit for years, and it is the fire starter I reach for when the weather turns. Check today's price on Amazon and add one to your pack.
Amazon Check Today's Price on Amazon →